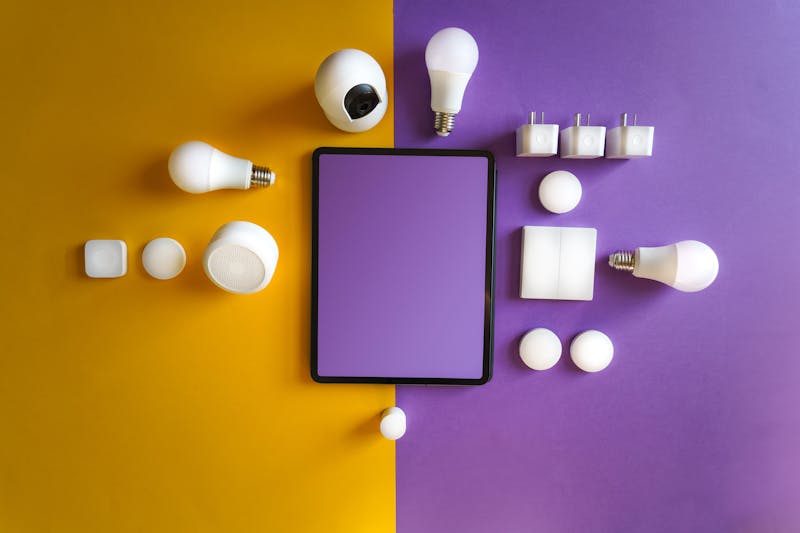
Ever dreamt of controlling your lights, thermostats, and other devices with your voice or from your phone? A smart home can offer convenience and automation, but commercial systems can be expensive and complex. Here’s where the Raspberry Pi comes in! This tiny computer is perfect for building your own smart home hub, letting you control various devices on a budget.
In this guide, we’ll walk you through creating a basic smart home hub using a Raspberry Pi. This is a beginner-friendly project, but having some experience with electronics and basic coding knowledge will be helpful.
What You’ll Need:
- Raspberry Pi (any model with GPIO pins will work)
- MicroSD card (8GB or higher recommended)
- Power supply for your Raspberry Pi
- HDMI cable
- Micro USB keyboard and mouse (optional, but recommended for initial setup)
- WiFi adapter (optional, if your Pi model doesn’t have built-in WiFi)
- Jumper wires
- Breadboard (optional, for easier prototyping)
- Sensors and actuators (based on your desired functionalities, examples: temperature sensor, light sensor, relay module)
Software:
- Raspberry Pi Imager (for installing the operating system)
- Operating System: Raspberry Pi OS Lite (headless or desktop, depending on your preference)
- Home automation software: Domoticz, OpenHAB (we’ll be using Domoticz in this guide)
Setting Up Your Raspberry Pi:
- Download and Install Raspberry Pi Imager: Head over to https://www.raspberrypi.com/software/ and download the Raspberry Pi Imager for your operating system (Windows, macOS, or Linux).
- Flash the SD Card: Use the downloaded Imager to flash the Raspberry Pi OS Lite (or your preferred OS) onto your microSD card. Choose the appropriate version for your Pi model.
- Configure Network Settings (Optional): If you’re using a wired connection, connect the Pi to your router with an ethernet cable. If using WiFi (and your Pi model doesn’t have built-in WiFi), you can configure the WiFi settings during the flashing process in the Imager or edit the configuration file on the SD card before booting the Pi.
- Boot Up Your Raspberry Pi: Insert the microSD card into your Raspberry Pi, connect the power supply, HDMI cable, and any peripherals (keyboard, mouse). Power on the Pi, and it should boot up.
Installing Domoticz:
- Update and Upgrade: Open a terminal window on your Pi and run the following commands to update the system and package lists:
sudo apt update
sudo apt upgrade
- Install Domoticz: Install Domoticz using the following command:
- Web Interface Access: Domoticz should be automatically configured to run on boot. Open a web browser on your computer or phone and navigate to http://<your_pi_ip_address>:8080 (replace
<your_pi_ip_address>with the actual IP address of your Raspberry Pi). You’ll be prompted to set a password for the web interface.
Connecting Sensors and Actuators (Optional):
This guide won’t delve into specific details on connecting various sensors and actuators, as it can vary depending on the chosen components. However, here’s a general approach:
- Research Your Sensors/Actuators: Refer to the specific documentation for your chosen sensors and actuators to understand their wiring requirements and functionalities.
- Identify GPIO Pins: Familiarize yourself with the GPIO (General Purpose Input/Output) pins on your Raspberry Pi. These pins allow you to connect external devices.
- Use Jumper Wires (or Breadboard): Connect your sensors and actuators to the appropriate GPIO pins of your Raspberry Pi using jumper wires. A breadboard can simplify prototyping connections.
- Configure Domoticz: Within the Domoticz web interface, navigate to the “Hardware” section and add your connected devices. You’ll need to specify the sensor/actuator type and the GPIO pin it’s connected to. Refer to Domoticz documentation for specific configuration steps.
Exploring Domoticz and Automation:
Domoticz offers a user-friendly interface to manage your connected devices. You can view sensor readings, control actuators, and create automation rules. For example, you can set a rule to turn on lights automatically when a motion sensor detects movement.
Taking it Further:
This is just a starting point for your smart home hub. You can explore a vast array of sensors and actuators to automate various aspects of your home. Additionally


